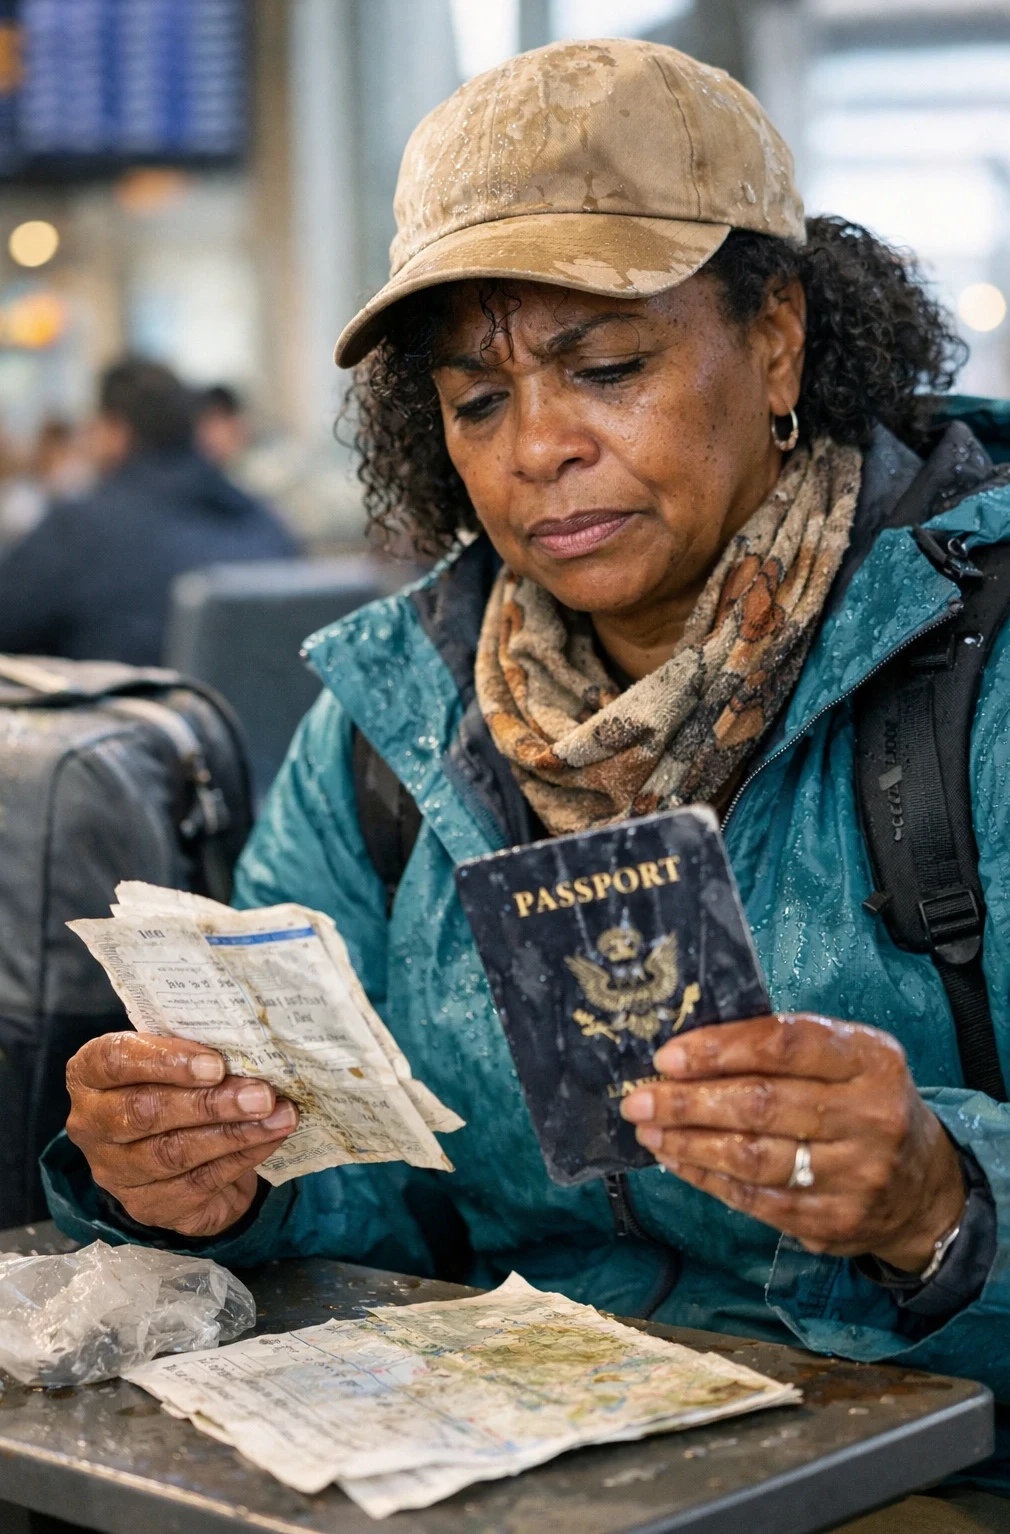
Traveling with important documents such as passports, travel insurance, visas, and copies of personal IDs means paying extra attention to security. Losing these papers on the road can lead to lengthy delays or ruined adventures. Over the years, I’ve put lots of different strategies to the test; some simple, some high-tech. I’m going to walk you through practical steps and handy gear that can make a big difference in keeping your documents safe while you’re away from home because nothing is worse than losing valuable documents when you are far from home.
Why Securing Important Documents While Traveling Matters
When you’re hopping between cities or countries, your personal papers are your lifeline. They can be the difference between smooth entry at a border and a full-blown headache. Even basic travel like a domestic road trip can run into snags if you misplace a driver’s license or hotel reservation printout.
Theft, loss, weather, and unexpected situations happen on the road all the time. Careful planning helps you stay prepared and avoid those “wish I’d thought of that” moments. Secure storage doesn’t just prevent hassles, it gives you peace of mind so you can focus on enjoying your trip.
Basic Steps to Keep Documents Safe on the Go
Before your wheels start turning (or your feet hit the pavement), getting organized is the foundation of keeping documents secure. Here are a few steps I always follow and recommend:
- Organize in Advance: I always gather everything I’ll need, like passport, health insurance, itinerary, emergency contacts, and so on, well before I leave. Keeping documents all in one place helps reduce last-minute stress.
- Make Digital Copies: I scan or take clear photos of every document. Copies are stored in secure cloud folders (I use encrypted options), and I keep offline versions on my phone, just in case.
- Share with Trusted Contacts: Someone at home, like a family member or close friend, has access to backup copies. If something happens, help is just an email away.
- Separate Originals and Copies: Physical and digital copies are kept separate from originals, often in another part of my bag or luggage.
Top Gear and Storage Solutions for Road Safety
Picking the right tools is one of the main things that keeps my documents safe from both thieves and the elements. Here’s what I rely on:
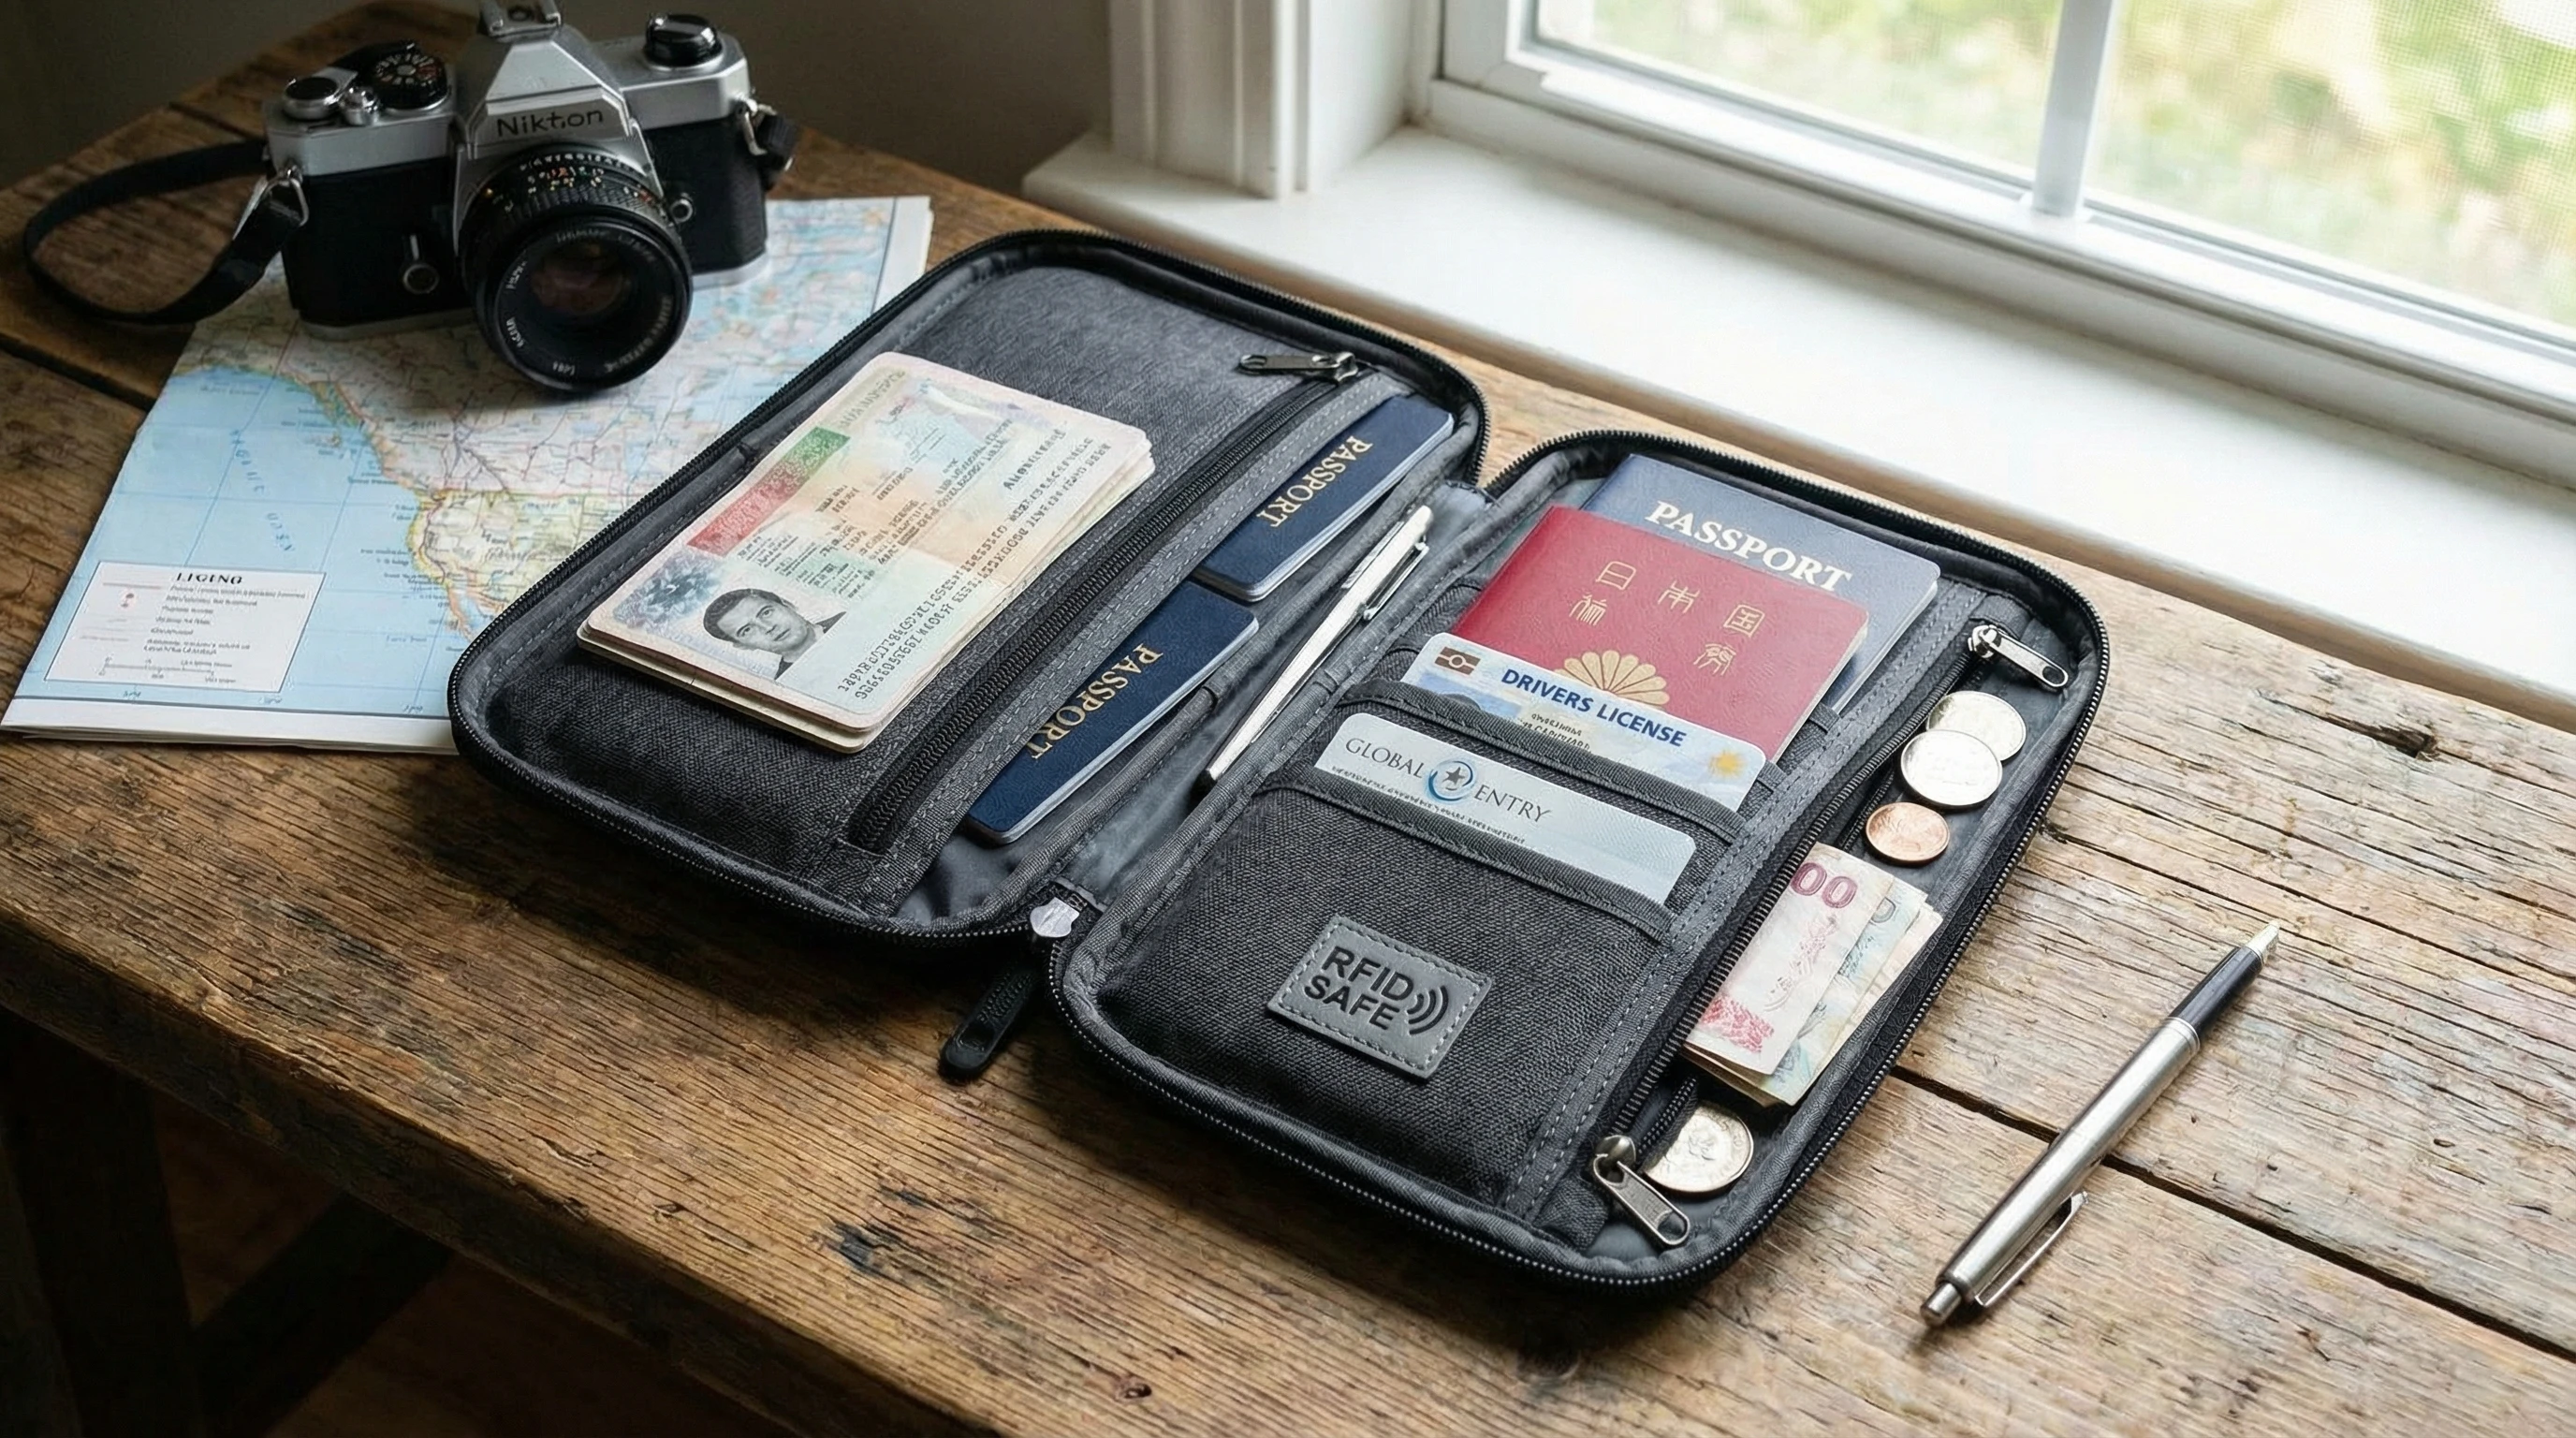
- Travel Wallets and Organizers: These zippered, multi-pocket pouches are pretty handy for keeping everything in one spot. Look for one with strong zippers, water resistance, and RFID-blocking layers to prevent digital theft of cards and e-passports.
- Hidden Pouches or Money Belts: These let you keep the real essentials on your body, under your clothes. Not super fashionable, but definitely useful in high-risk areas. (My 80-year-old father loves these!)
- Portable Safes or Lock boxes: Especially helpful for car travel or longer stays in places with questionable security. These small, lockable cases tether to something solid in your vehicle or hotel room.
- Waterproof Sleeves: If you’re heading somewhere rainy or doing anything outdoorsy, these sleeves keep papers safe from unexpected splashes or storms.
Practical Tips for Real-Life Travel Situations
Gear is a good start, but habits help a lot, too. I’ve found the following day-to-day routines make a real difference:
- Never Leave Documents Unattended: Even for “just a minute” when fueling up or stopping for food, I always lock up or carry documents. Quick thefts happen everywhere.
- Use Hotel Safes Selectively: Not all hotel safes are high security, but I do use them for anything I don’t need to carry that day. For really important stuff, I keep it on me in a body pouch, especially in hostels or shared rooms.
- Be Smart with Backpacks and Bags: Zippers to the back, cross-body bags, and money belts work better than backpacks that open easily or sit out of sight.
- Rotate and Separate: Sometimes I split up documents across different locations (like leaving one backup in my main luggage, another with my hiking pack) in case of theft.
Common Challenges Travelers Face, and How to Handle Them
Not everything goes right every time, so I’ve had to come up with solutions for a few sticky situations. Here are some road-tested fixes:
- Losing a Passport Abroad: Losing your passport is a hassle, but not a total nightmare if you’ve backed up copies and contact info for your country’s embassy or consulate. Keep digital and paper copies of the ID page, and know the embassy location before you need it.
- Getting Documents Wet or Damaged: Even the best rain cover doesn’t always keep everything dry if you get caught in a storm. Waterproof bags or even basic ziplock (my favorite choice!) baggies can save the day, and investing in truly waterproof cases for important papers is worth it in wet climates.
- Fending Off Pickpockets: Crowded bus terminals or markets make easy work for skilled pickpockets. Carry only what you need for the day. I keep most things stashed away and use decoy wallets if I’m somewhere with lots of petty theft.
- Border Surprise Checks: Random stops by police or border guards happen, especially overland. Having clear, organized folders or pouches for documents helps avoid frantic searches that look suspicious.
Water and Weather Protection
Water damage can ruin any document really quickly. I use poly envelopes, ziplock bags, or those plastic sleeves you get from office supply stores. Some travel wallets now come with built-in weather protection, too. If you expect heavy downpours or plan to cross rivers, a drybag could be a smart addition to your kit. Consider extra layers of protection for multi-day hikes and boat rides.
Dealing with Scanned and Electronic Copies
Don’t rely only on cloud storage; the internet doesn’t always work when you most need it. I download PDFs of all scanned documents to my mobile device (protected with a passcode or fingerprint lock), and I use secure services like Dropbox or Google Drive so I can pull up docs anywhere with an internet connection. For long trips, I suggest backing up electronic copies on a second device like a tiny tablet or spare phone, just in case your main one goes out of commission.
Advanced Tips for Next-Level Security
After covering the basics, a few upgrades can give a boost to your safety even further. Here are some approaches I take if I know I’ll be in higher-risk places or gone for a long time:
Use an Encrypted Flash Drive: I keep copies of all my documents on a small USB stick locked with encryption. Super useful if my phone dies or gets lost.
Password-Protect Your Files: Sensitive files like scans of credit cards, IDs, and insurance forms are password-protected and, where possible, have two-factor authentication enabled on apps or email.
Register with Smart Traveler Programs: For international trips, some governments (like the United States Smart Traveler Enrollment Program) let you register with local embassies for extra support if something happens.
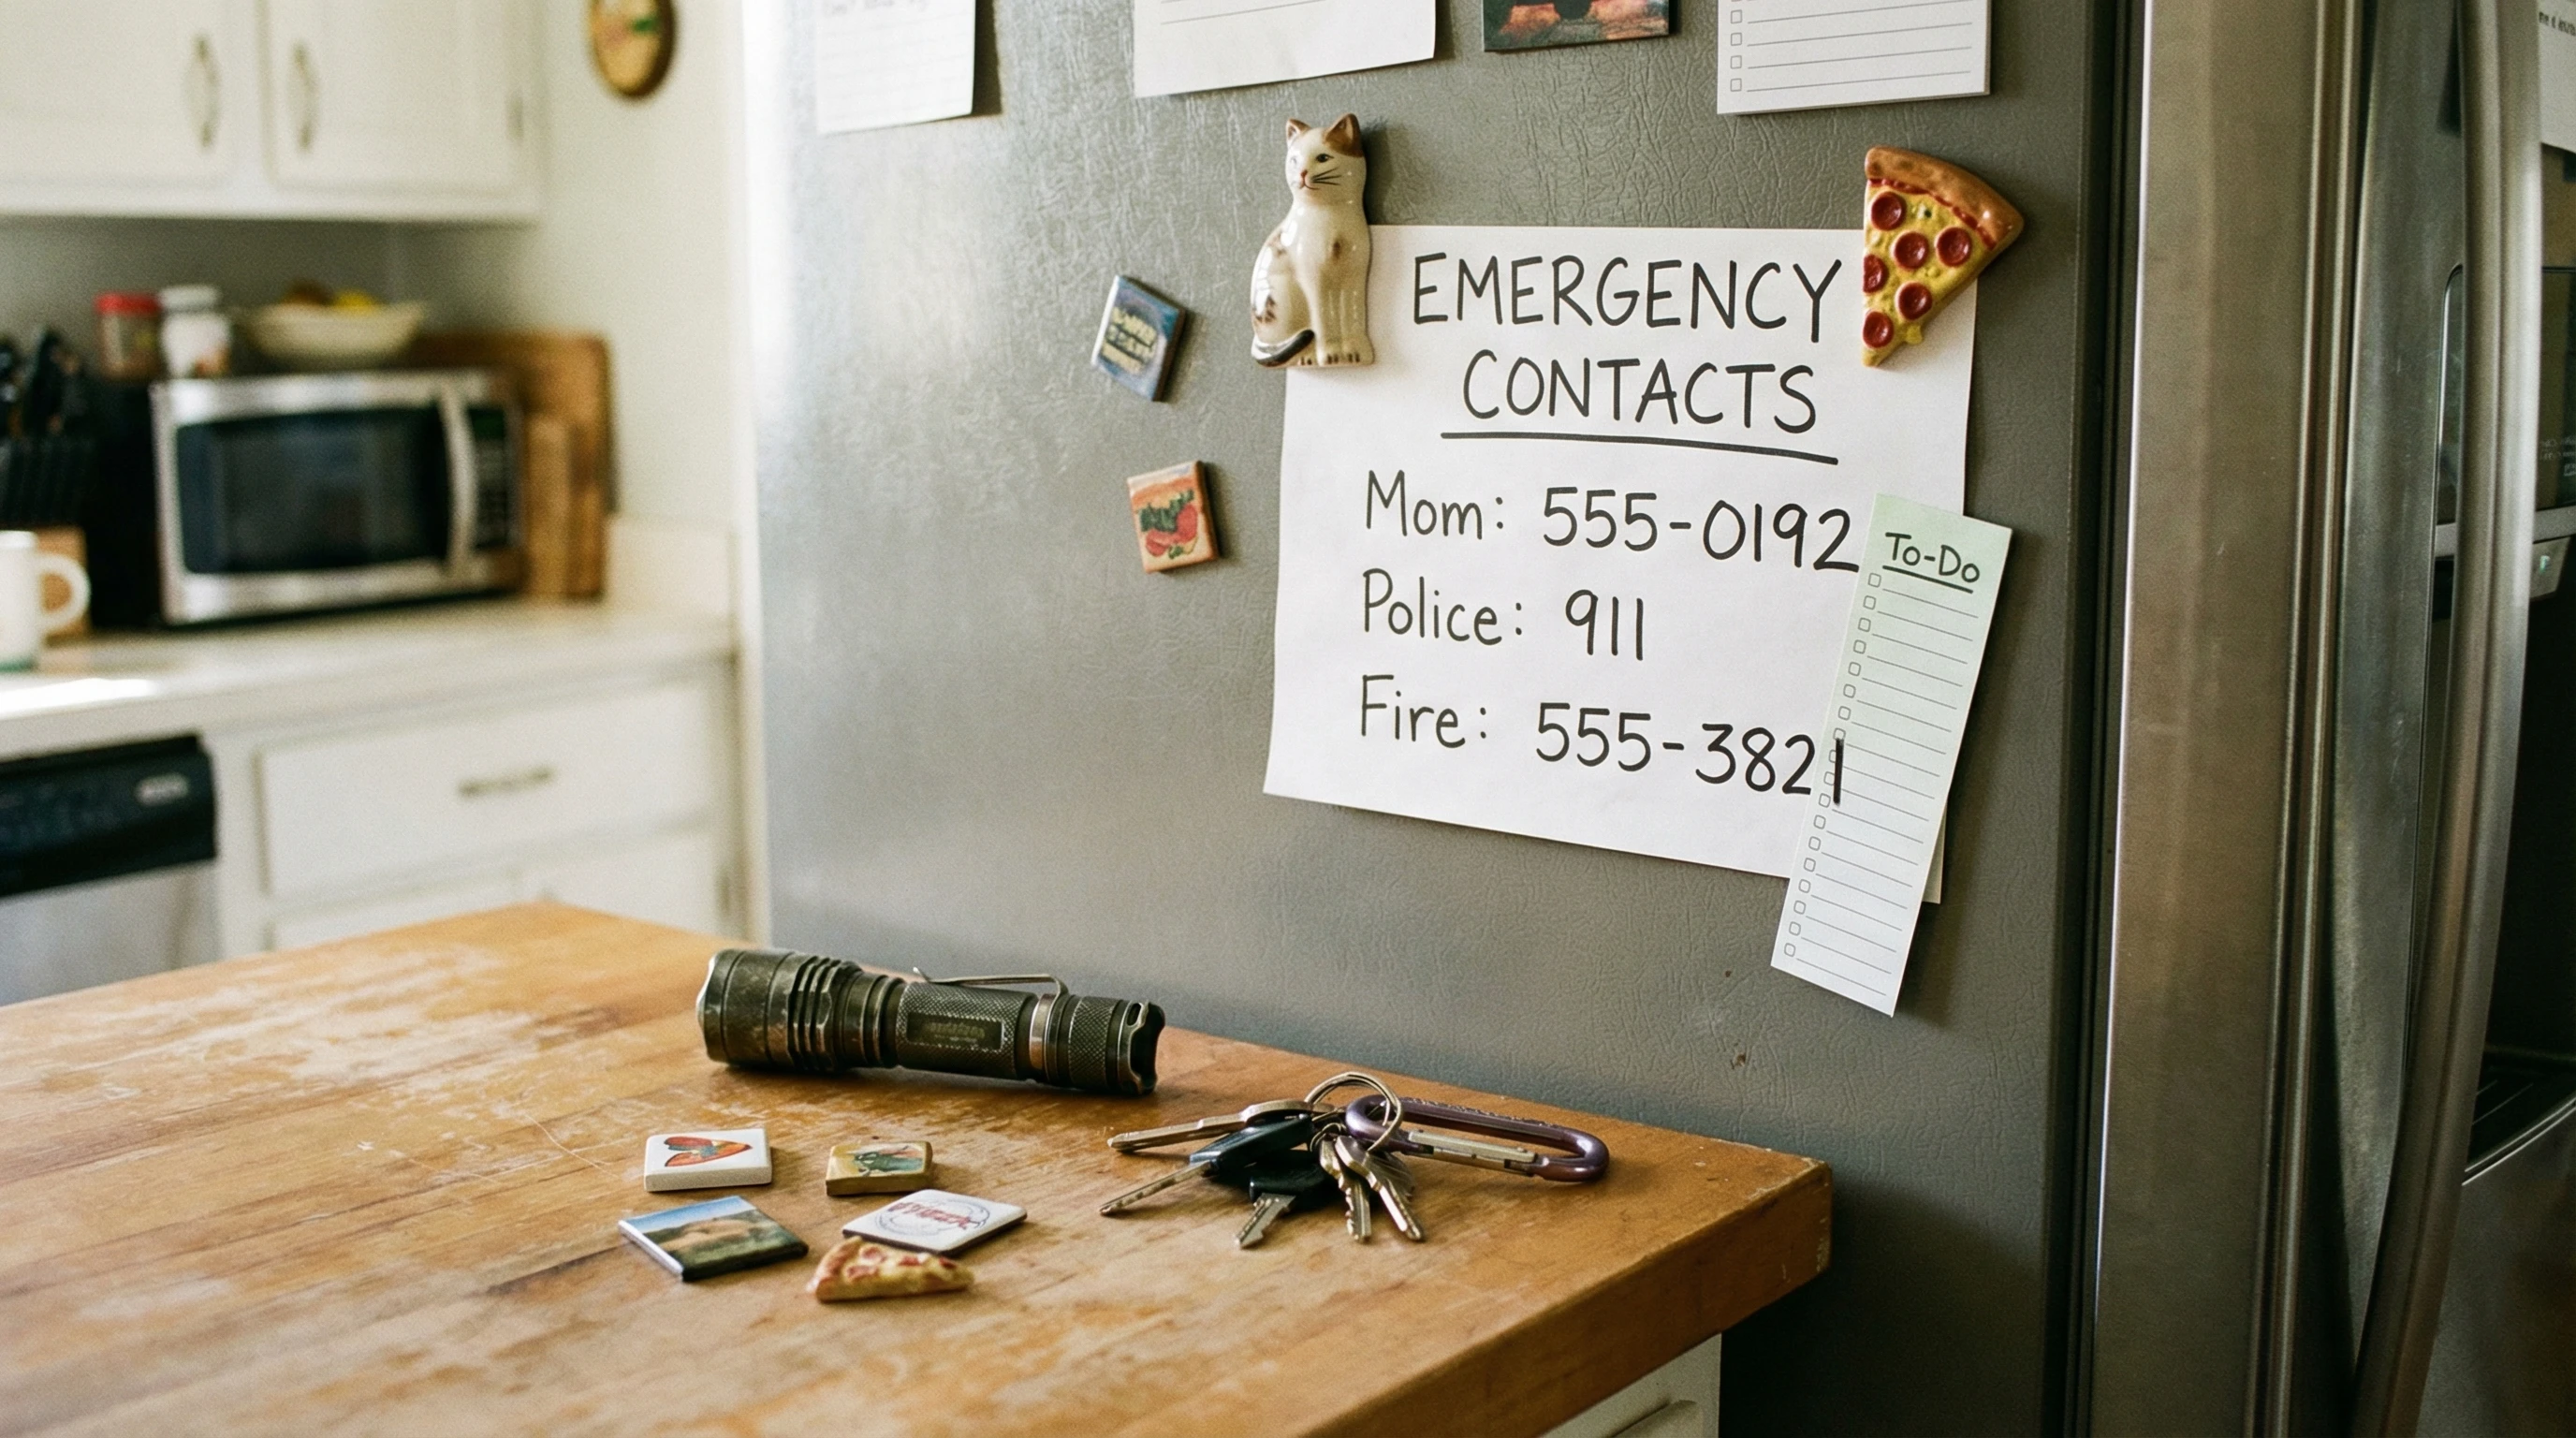
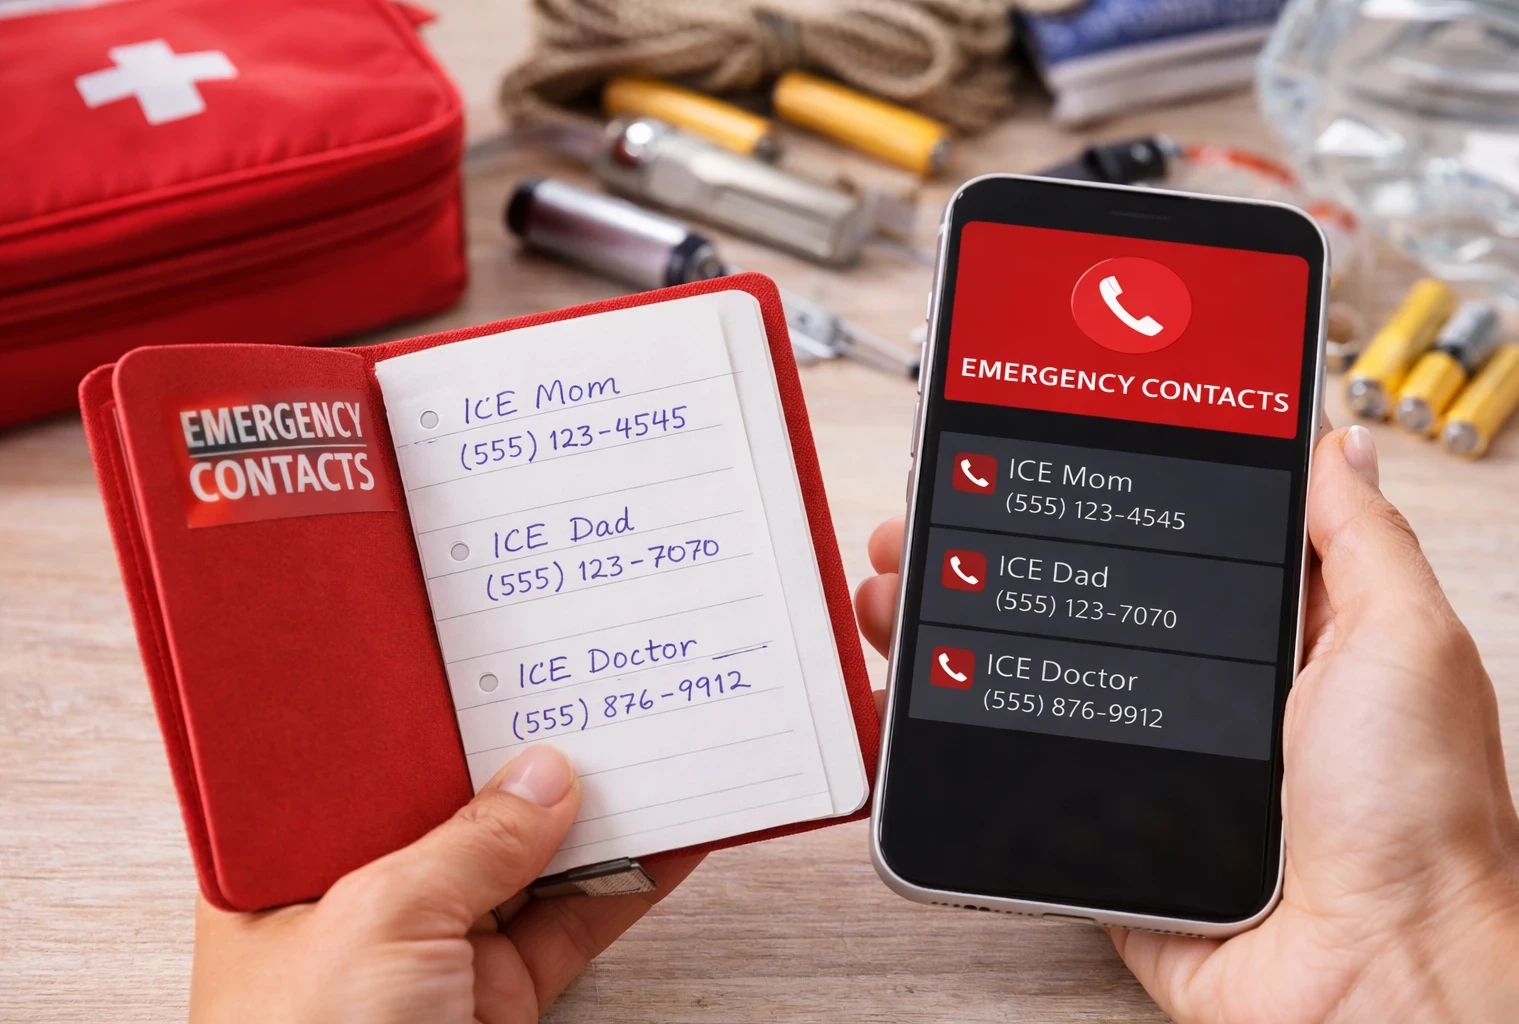
Document Replacement Plans: Before leaving, I look up the nearest embassy/consulate or government office for every country I’ll pass through. Having a fallback plan ready is super important if you wind up needing new documents unexpectedly. If possible, print or save local emergency numbers.
Frequently Asked Questions
Here are some questions travelers ask all the time about document safety:
Question: Should I carry my passport with me or leave it at the hotel?
Answer: If your accommodation has a reliable safe, leave it there along with anything you don’t need whenever possible. For certain countries that require you to carry official ID at all times, a high-quality copy is usually accepted for daily use; check local laws before you go.
Question: Can I just rely on digital copies of my documents?
Answer: Digital backups are really helpful, but always keep at least one paper copy and your actual ID documents on hand (though physically separated when possible). Internet access isn’t everywhere, so digital-only isn’t foolproof.
Question: How do I protect documents when hiking or doing water activities?
Answer: I use a waterproof pouch or drybag, and only carry what I absolutely need. I leave all other docs in a locked car or secure hotel safe, out of sight and away from windows.
Choosing the Right Gear for Your Style of Travel
Picking document holders and tech is about matching your travel plans and risk level. City travel, backpacking, business trips, and road trips all have slightly different needs. If you’re hopping borders by bus, focus on portable safes and lightweight travel wallets. For car trips, a lock box hidden in the trunk offers the peace of mind you might not get from leaving things in a glove box. Adventure travelers should always protect against water and accidental drops.
- Family Travel: Use color-coded folders or wallets so each person knows which papers are whose. Even kids like to help keep track!
- Business Trips: Keep business cards, backup contacts, and insurance details in a single zipped pouch for fast access. Digitize any important meeting schedules as well for quick entry at airports or offices.
- Solo Travel: Opt for smaller, slimline gear you can keep on your body at all times. RFID sleeves and mini lock boxes are super useful here. In addition, I often jot emergency phone numbers and embassy addresses in a small notebook.
Staying organized and flexible with your system will help you handle whatever comes up and make it way more likely that you’ll avoid anything trip-ruining or stressful. Careful planning, the right gear, and smart habits all work together to keep important travel documents right where they should be: safe, secure, and ready when you need them.